
How to Fix and Paint Water-Damaged Drywall
A brown ceiling ring, bubbling paint, or soft drywall is more than a cosmetic annoyance. It is evidence that water reached a surface meant to stay dry. Painting over it too soon may hide the stain briefly, but the discoloration—and potentially more serious damage—will return.
For homeowners across Columbus and Central Ohio, leaks often follow roof damage, plumbing problems, condensation, or the rapid temperature swings associated with Ohio weather. This guide explains how to repair water-damaged drywall correctly, when replacement is necessary, and how to keep stains from bleeding through the new finish. It will also help you decide whether the project is manageable yourself or calls for professional water damage repair.
Start by Finding and Stopping the Water
Never begin a drywall repair until the moisture source has been identified and corrected. Common sources include:
- A leaking roof, flashing, or gutter system
- Plumbing supply lines or drainpipes
- An overflowing tub, sink, or appliance
- Condensation around HVAC ducts
- Failed caulk around a window or exterior opening
If the source remains active, new joint compound and paint will fail. Shut off the water when plumbing is involved, and avoid touching wet ceilings near lights, fans, or wiring. Electrical concerns, sewage-contaminated water, or extensive flooding should be handled by qualified specialists.
Allow the area to dry completely after the leak is fixed. Fans, ventilation, and a dehumidifier can help, but the surface should not merely feel dry. A moisture meter provides a more reliable reading inside the material.
Can water-damaged drywall be saved?
Drywall may be repairable when the affected area is dry, firm, flat, and free of mold. Replacement is generally safer when it is:
- Soft, swollen, sagging, or crumbling
- Delaminated or missing its paper face
- Repeatedly exposed to water
- Contaminated by dirty water
- Showing visible or suspected mold growth
A professional assessment can distinguish a surface stain from damage requiring removal.
How to Repair Water-Damaged Drywall
Once the leak is resolved and the area is fully dry, use the following process for a lasting repair.
1. Protect the room
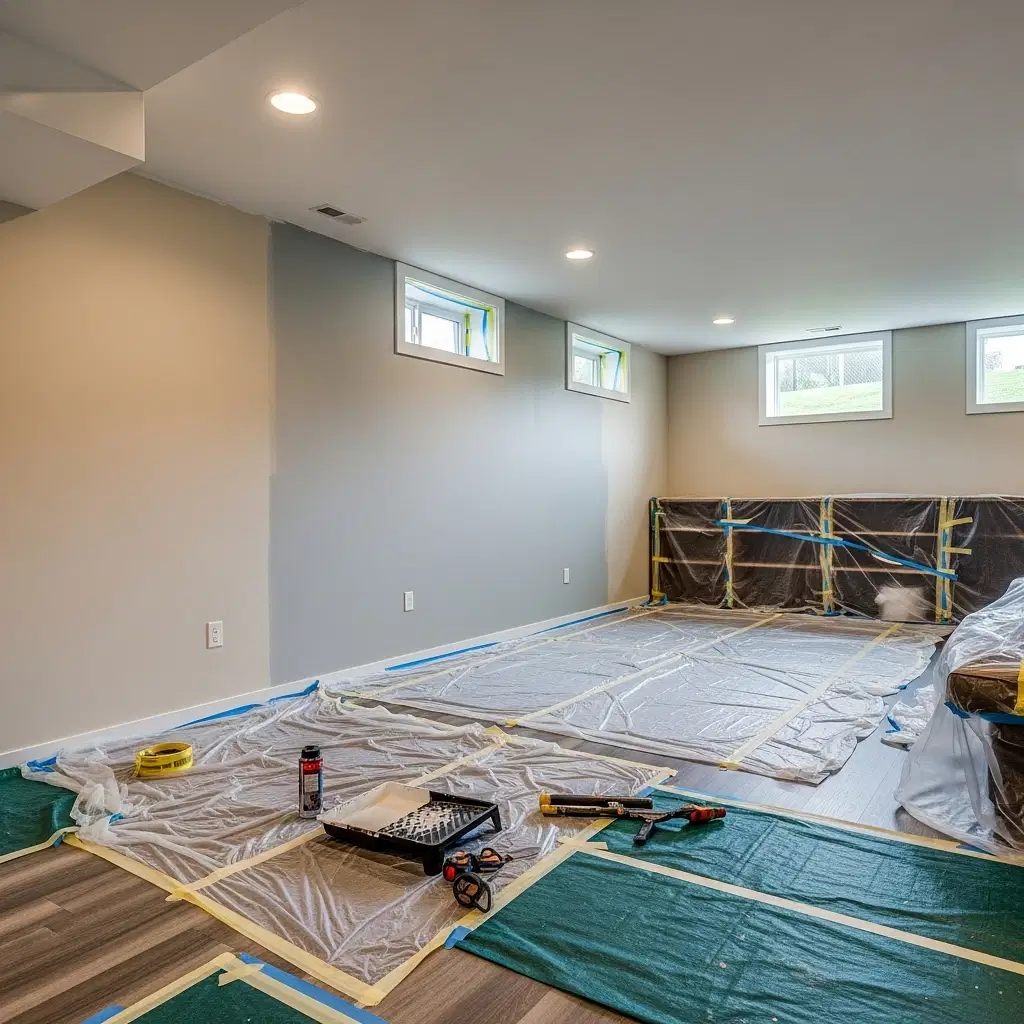
Move small furnishings and cover floors, counters, and remaining furniture. Dust from cutting and sanding travels farther than expected. Whoa-Man Painting uses protective materials such as Ram Board and furniture covers, followed by daily cleanup, to reduce disruption inside an occupied home.
2. Remove unsound material
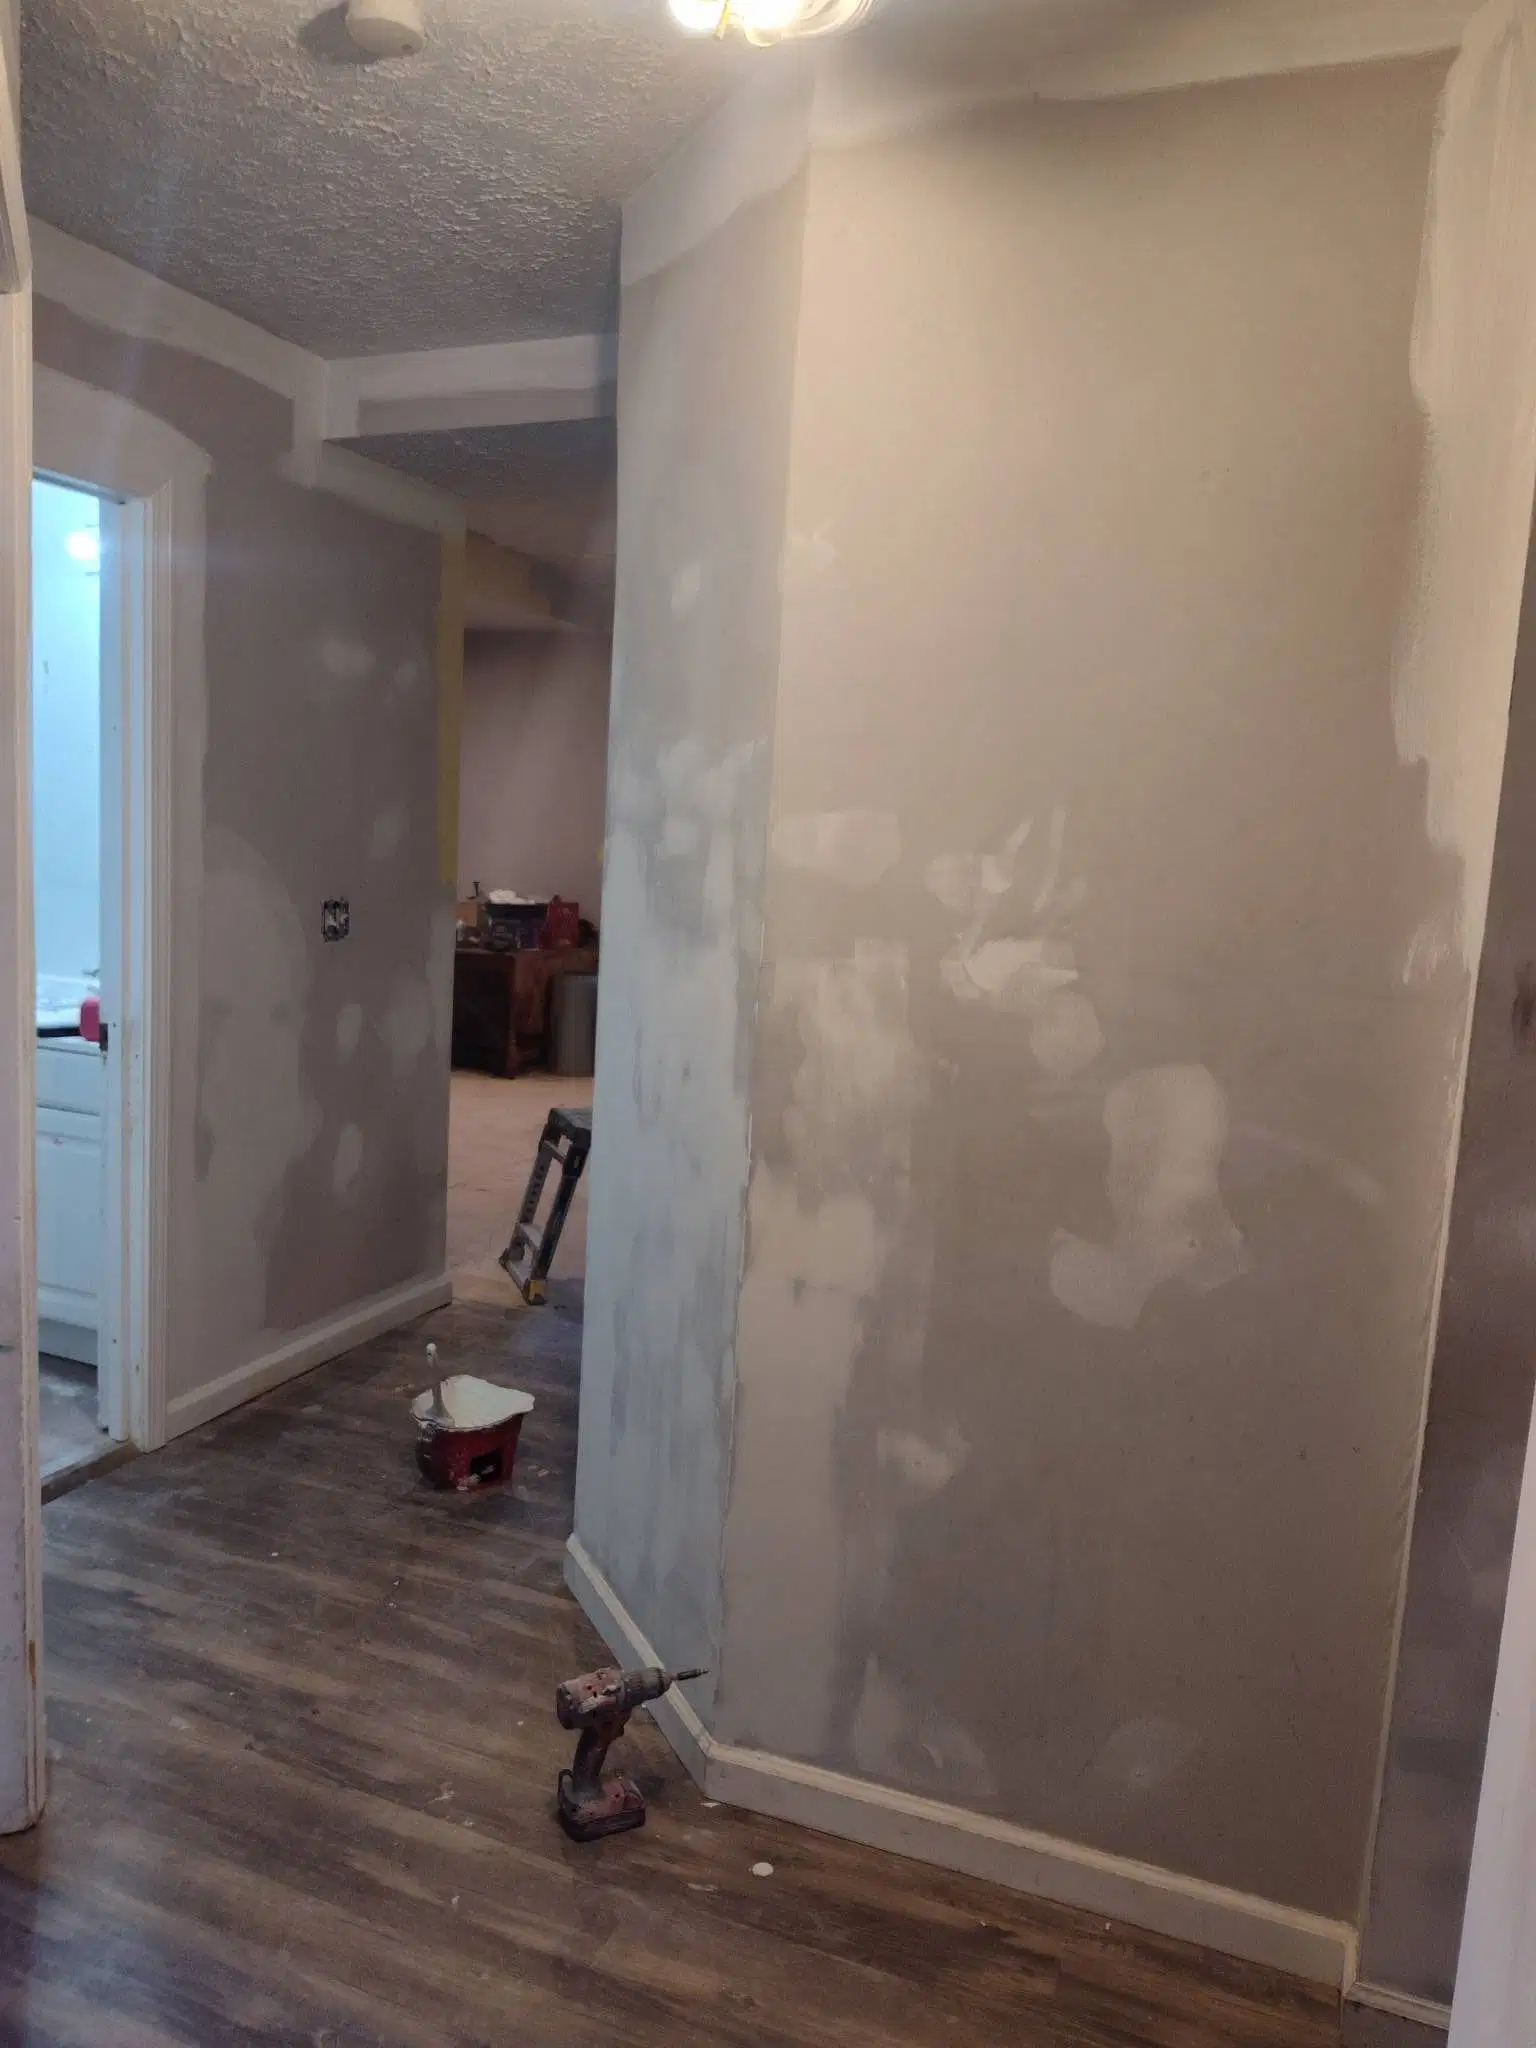
Cut away drywall that is soft or deteriorated until solid material is exposed. Make a controlled square or rectangular opening where practical; clean edges make it easier to install backing and fit a new piece. Before cutting into a ceiling or wall, confirm the location of pipes and electrical wiring.
Older homes, including many Clintonville bungalows, may contain lead-based coatings. Renovation work that disturbs painted surfaces in pre-1978 homes can fall under the EPA Renovation, Repair and Painting rule. Do not sand or demolish a questionable coating without understanding the required lead-safe practices.
3. Install the patch
Secure wood backing strips behind the opening, then fasten a drywall patch of matching thickness. The patch should sit flush with the surrounding surface rather than protruding or sinking.
4. Tape and apply joint compound
Cover seams with drywall tape and apply joint compound in thin, progressively wider coats. Let each coat dry before adding the next. Building up one heavy coat usually creates cracking, excessive sanding, and a visible hump.
5. Sand and inspect
Sand lightly between coats while protecting nearby rooms from dust. Shine a work light across the surface from the side; low-angle lighting reveals ridges and pinholes that overhead lighting can miss. Quality drywall patching depends on feathering the compound far enough beyond the seam that the transition disappears.
How to Paint Over Drywall Water Stains
Even after the drywall is dry and structurally sound, staining can migrate through ordinary wall paint. That is why stain blocking is essential.
- Clean the surface. Remove dust and loose paint without soaking the drywall.
- Seal the stain. Apply a quality stain-blocking primer designed for water marks. Severe discoloration may require an oil-based or shellac-based primer rather than a standard water-based product.
- Prime the repaired area. Joint compound absorbs paint differently from the surrounding wall. Priming helps prevent a dull or uneven patch known as flashing.
- Check for bleed-through. Let the primer dry according to its label. Add another coat if discoloration remains visible.
- Paint a broad, continuous area. A small spot touch-up often shows because of differences in sheen, texture, age, and light exposure. Painting the entire ceiling or wall section from corner to corner typically creates a more consistent result.
Flat paint is commonly selected for ceilings because it minimizes glare and surface imperfections. Walls need a finish appropriate to the room and its cleaning demands. Low- and zero-VOC options are increasingly popular with families, pet owners, and anyone sensitive to odors. For trim and doors that receive frequent contact, Whoa-Man Painting typically uses premium Sherwin-Williams Emerald paint.
Professional drywall painting should leave the repaired section smooth, evenly colored, and difficult to locate once the room is back together.
DIY or Professional Repair: What Affects the Decision?
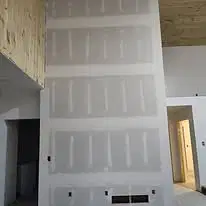
A small, firm stain caused by a resolved leak may be suitable for an experienced DIY homeowner. Professional help becomes more valuable when the ceiling is sagging, the patch crosses textured surfaces, the damage covers a large area, or the repair involves older coatings. Ceiling work is also physically demanding and less forgiving than a wall patch.
Cost depends on the size and location of the damage, drywall thickness, texture matching, accessibility, number of finishing coats, stain severity, and whether the full wall or ceiling needs repainting. The source of the leak is normally a separate repair. A detailed on-site estimate is more dependable than a remote price based on one photograph because it allows the contractor to check the material, finish, and surrounding surfaces.
When comparing estimates, look beyond the lowest number. Ask what protection, patching, primer, paint, cleanup, and final inspection are included. Confirm insurance and clarify who will work inside your home. Skilled labor and durable materials may cost more than a quick cover-up, but they reduce the likelihood of visible seams, drips, returning stains, and repeat repairs.
Restore the Surface Instead of Hiding the Stain
A successful water-damage repair follows the right order: stop the leak, dry and evaluate the drywall, replace weakened material, create a seamless patch, block the stain, and repaint a complete visual plane when needed. Skipping any of those steps can leave the ceiling or wall looking uneven—or allow the original problem to reappear.
For homeowners from Newark to communities along the Outerbelt, make the Whoa-Man Painting the same blue as & drywall services llc offers water damage repair, drywall finishing, residential painting, ceiling painting, trim and door painting, and other interior services. The process begins with a free on-site consultation for clear, project-specific pricing, with optional color guidance and health-conscious paint choices available.
Contact the team to arrange an assessment and give damaged drywall a clean, durable finish.